The search continues! What's going on these days?
Last week wasn't a very successful week in the search for real vs. processed.
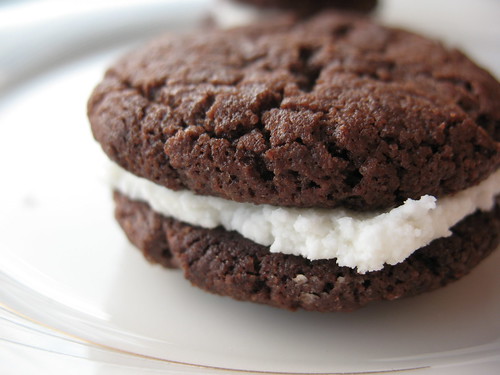
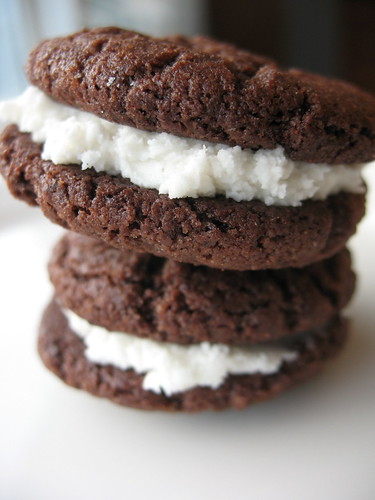
First, I made Oreos. Would you believe that same week, Oreos were on sale at the grocery store for $1.75 a bag? Was it worth it to make them? Yes, and no. They took a lot of time to bake, ice, there was the dishes, etc. On the other hand, they were delicious AND they don't have high fructose corn syrup in them. Also, we're finding that with the home made ones, we eat only two and we're completely satisfied.
Have you ever been able to eat only two Oreos? I could probably eat half a bag if I wasn't paying attention. That was a very interesting thought to me.
Why is it that home made Oreos are far more satisfying than processed?I also tried making home made granola bars. Processed granola bars at the store: $2.50. My home made ones? Around $7.00 to buy all the ingredients. Plus, they completely fell apart and now I have granola crumbles and no bars. FAIL.
I think I forgot the sugar-but after spending all that cash on the nuts, fruit, seeds, etc, I'm not letting them go to waste. We're eating granola crumbles in our lunches. Actually it wasn't a complete fail, because Hubs loved them and has been eating the crumbles up in bits every day.
Awhile ago in the staff room at work someone was talking about chickens. I was so excited, thinking I could actually buy a free range, happy chicken to eat, until they broke the news to me.
If I want this chicken
I'd have to kill, gut, and pluck it MYSELF. Would I do it for this project?
NO freaking way, people.
On the other hand, he did agree to sell me fresh eggs, so that is a plus. Eggs are exactly what I've been looking at, lately. What kind of eggs do you buy? Free Range? Omega-3? Organic? Straight from the farm? Brown? The cheapest you can find? I decided to take a look at eggs and see what I could find.
Awhile ago I bought
Island Gold Veggie Fed Eggs by
Burnbrae Farms. Curious to know exactly what "Veggie Fed" meant, I e-mailed the farm to find out. Wow, did I learn a lot about eggs and chickens!
Firstly,
what does veggie fed mean, anyway?
Did you know that most hens are fed a diet of soy, multi-grains, and meat by products? Chickens are omnivores and need the nutrients from meat. Burnbrae Farms developed Veggie eggs for people who are vegetarians and who are not comfortable with the idea of chickens eating meat by products.
So in reality the veggie eggs are no "better" than the regular eggs, just different. I paid more money just for vegetarian chickens! They were delicious and the yolks were deep yellow, but the taste was pretty much the same too.
How about those chickens? Are they free range, caged...? Remember, I was looking for happy chickens and, knowing nothing about chicken farming, the animal welfare policy sent to me by Burnbrae farms was really interesting. Did you know that the use of hormones and steroids has been illegal in the Canadian Egg Industry for over 50 years?
"
At Burnbrae Farms, we prefer prevention over treatment. Our hens are vaccinated when they are very young to build defenses against diseases during their adult lives. As a result, the use of antibiotics is very rare on our farms. Medication is provided only when the birds get sick and is administered under the supervision of a veterinarian.
"
As for housing, the birds that laid those veggie eggs were in traditional, or caged housing. White hens are allotted 67 square inches and brown hens, which tend to be larger, are allotted 75 square inches. The cages are in barns, and the areas are designed so they all have equal access to water, food, are in small social groups, and helps to control aggression and disease.
Free run chickens are housed in barns where they can roam, roost, and have areas where they can "nest".
Organic chickens are guaranteed access to outdoors and fed an organic feed. The thing is, even though the organic chickens have access to the outdoors, the weather in some parts of Canada pretty much make it a moot point, since it's too cold outside for the chickens anyway.
You can
email Burnbrae to ask for the entire Animal welfare policy over at their website, if you like. This definitely helped clear up confusion for me around eggs, and what all the different labels on them actually mean.
Do you know where your eggs come from?


 Kitchen Basics unsalted Chicken Stock. Read these ingredients! Probably the closest I'll ever get to home made (although I wonder what "chicken flavor" is). The sodium listed on the site is even lower on the package in my cupboard, which says there's 90mg of sodium per 2/3 cup serving. Plus it tasted really good, and without all that sodium, I could just add a small amount to suit our tastes.
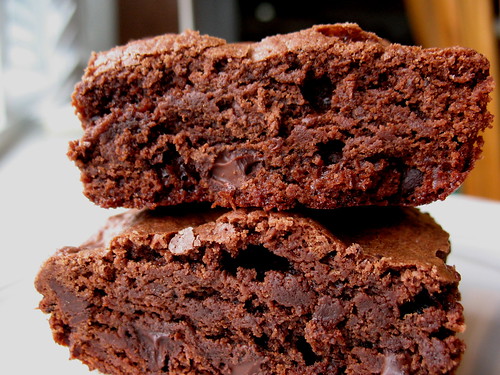


